Imagine this, you’ve bought a shiny new monitor may be 28 inch or may be 32 inch with all the latest features and 4k resolution, or even 8k ! But little did you know before buying the monitor. Because all you have ever used is a 1080p monitor.

Now you have plugged in the monitor and turned your computer on like a happy little kid. But as soon as the monitor lit up, you discovered that you can’t see anything without squinting. Everything is so damn small ! The user interface, the fonts, the mouse pointer everything !!
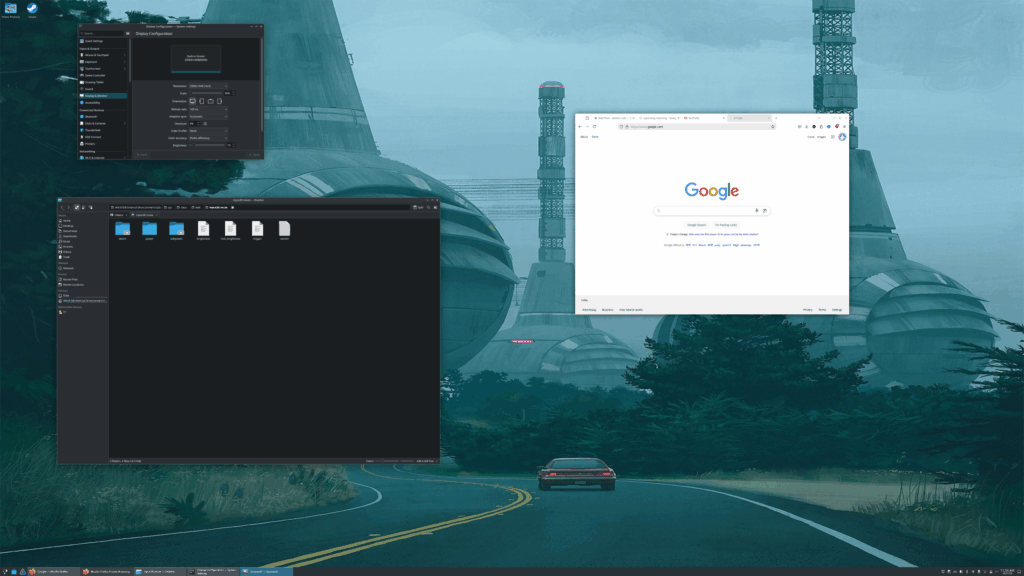

Can you relate yourself with this penguin ? Good ! now read ahead.
I believe you’re using a desktop environment like KDE or GNOME. If you’re using a window manager like hyprland or i3 or dwm or something else, you already know a lot of advanced stuffs. So, this tutorial is not for you. You can figure out on your own !
If you’re using xorg, it will be easy for you. If you’re using wayland, it will be even easier for you. If you don’t know what wayland or xorg is, don’t worry, just run the following command in your terminal.
echo $XDG_SESSION_TYPE
As you can see I am running wayland. If you’re using xorg, you’ll see “x11” here.
If Wayland
If you are using KDE, open “System Settings” and click on “Display & Monitor” on the left sidebar. And then change the value of “Scale” to something like 150%. Whatever suits you.
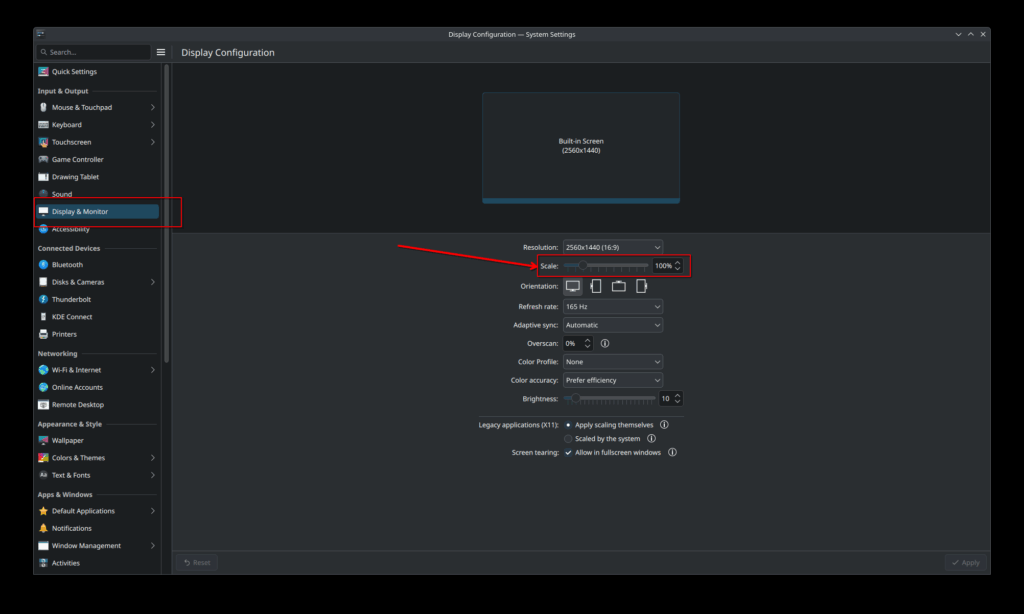
Your changes should be applied immediately. No need to restart.
If X11
X11 also has the same scaling option, but the thing is, it is by a “whole number”, and not by fraction. Meaning, you can scale by 200%. 300% and so on. If you’re happy with 200%, it’s fine. But, If 200% is too big and 100% is too small, then you’ll need 150% or even 125%. But, 125% or 150% means you’re doing “Fractional Scaling”. Fractional scaling is not supported in X11. Wayland is newer protocol, so it supports Fractional scaling.
But worry not, it’s not the end of the world. For X11, we’ll change the “dpi” of the screen instead of doing the fractional scaling. Which will also work.
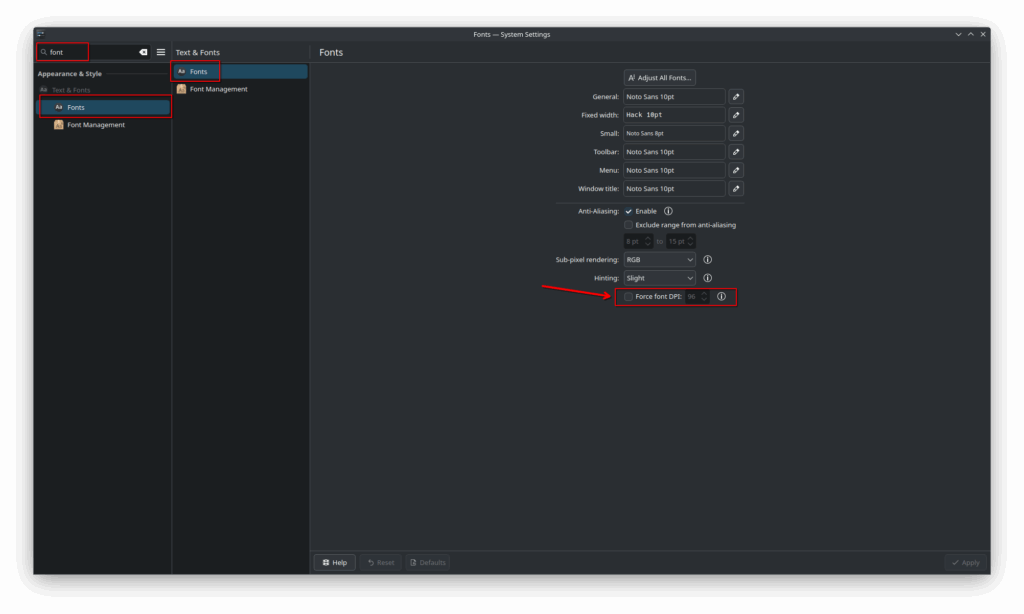

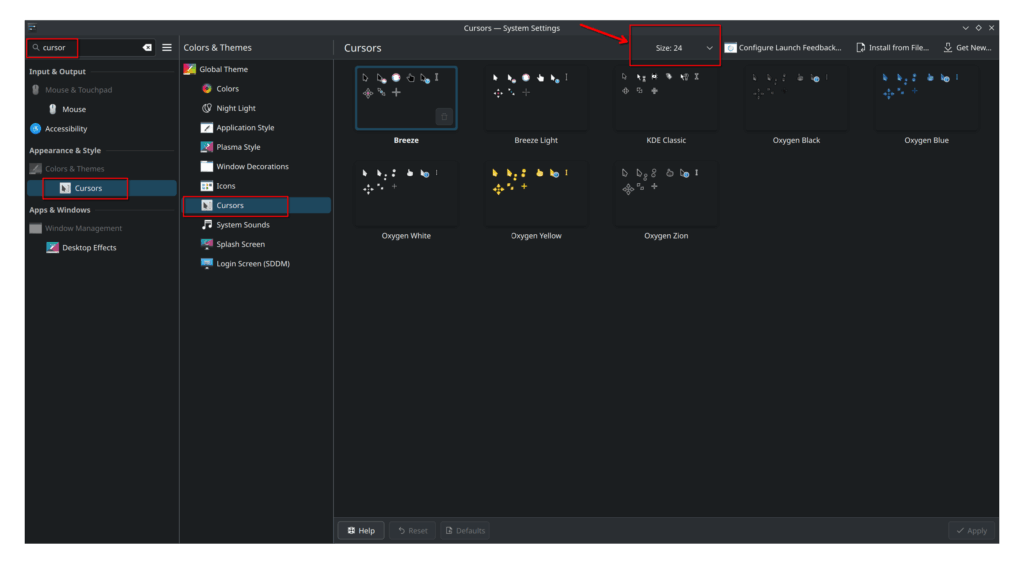
If you find the cursor is too small, change the cursor size from the cursor settings under “Global theme”.
Now, restart your computer to reflect all the changes you have made !
If you’re using any other desktop environment than KDE, the basic rule is simple, if you’re on X11, change the DPI from settings, if you’re using Wayland, change the scaling directly. But there are some distros which allows you to change the scaling in X11, for example Linux Mint. You can try that yourself and see if it works for you.